Hello there! Thank you for joining me today for a color challenge at Make the Cards Challenge. We hope that you join us today.
I decided to take the color challenge quite literally by creating this clean card with the Color & Contour Bundle and many of our other staple dies. I have a unique sketch that just happened and worked out. This card has custom measurements, which is below, along with your supplies. This is way much easier to pull together than it looks.
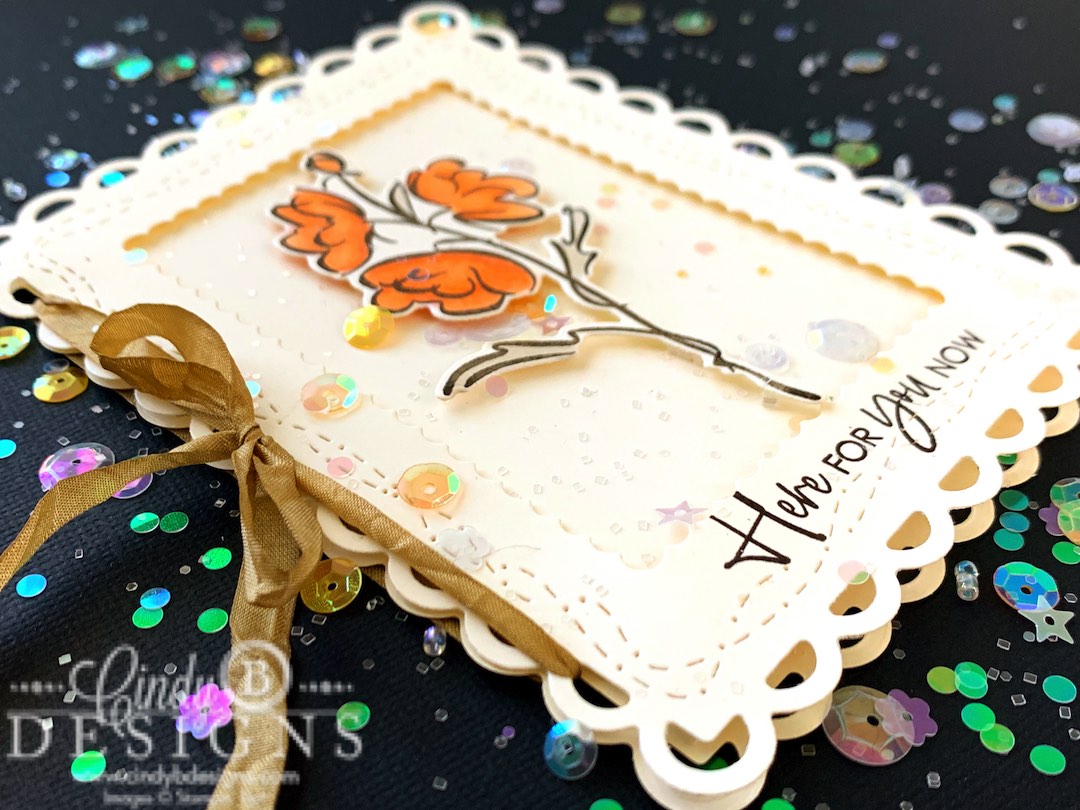
There are a few more steps than usual to assemble the frames and card base, with the order of how I put this together. I love how I put this together. The card stands up on its own and fits easily into one of our Medium Envelopes.
The first thing I did was cut 2 large scallop frames from Very Vanilla Regular CS.
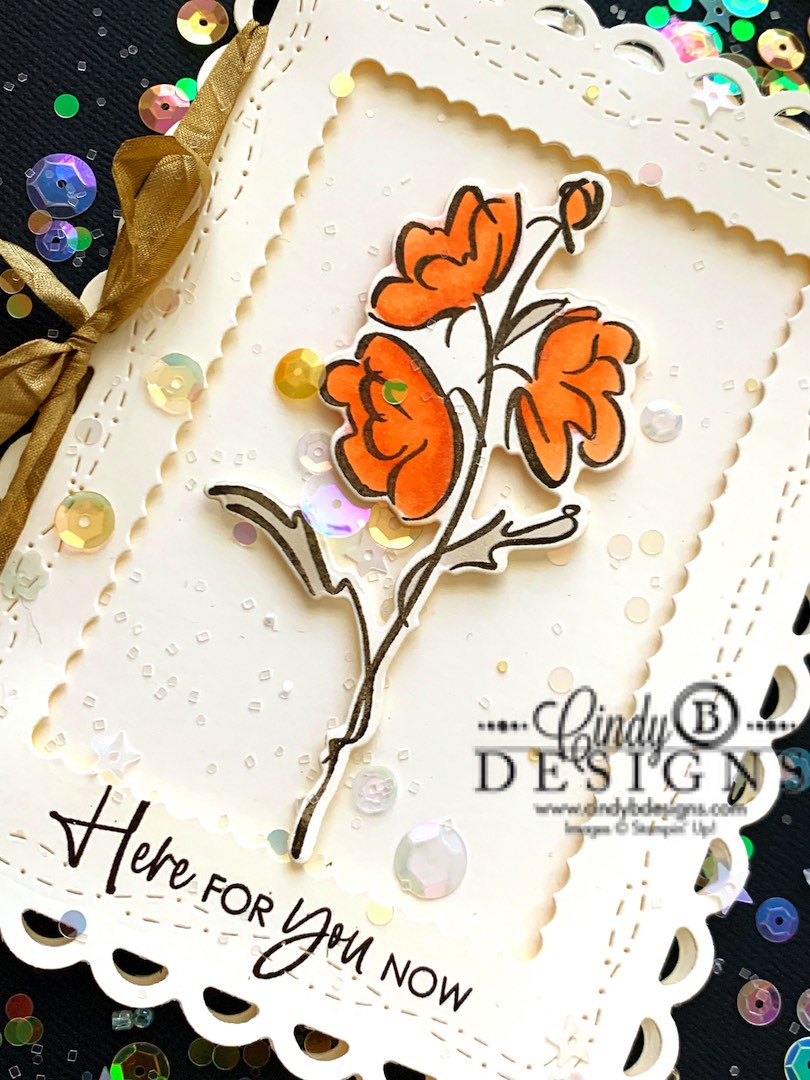
I ran one of the scallop frames through the Stampin’ Cut & Emboss Machine with the 2nd largest Stitched With Whimsy die, that fit perfectly! These dies do not cut, they emboss, providing beautiful detail and spicing up an otherwise very neutral card. I really let our die-cuts work for me.
This is what I mean by how our products are designed across the board to coordinate.
I took the same scallop frame with the embossing and centered in the 2nd largest Stitched So Sweetly scalloped frame and die-cut.
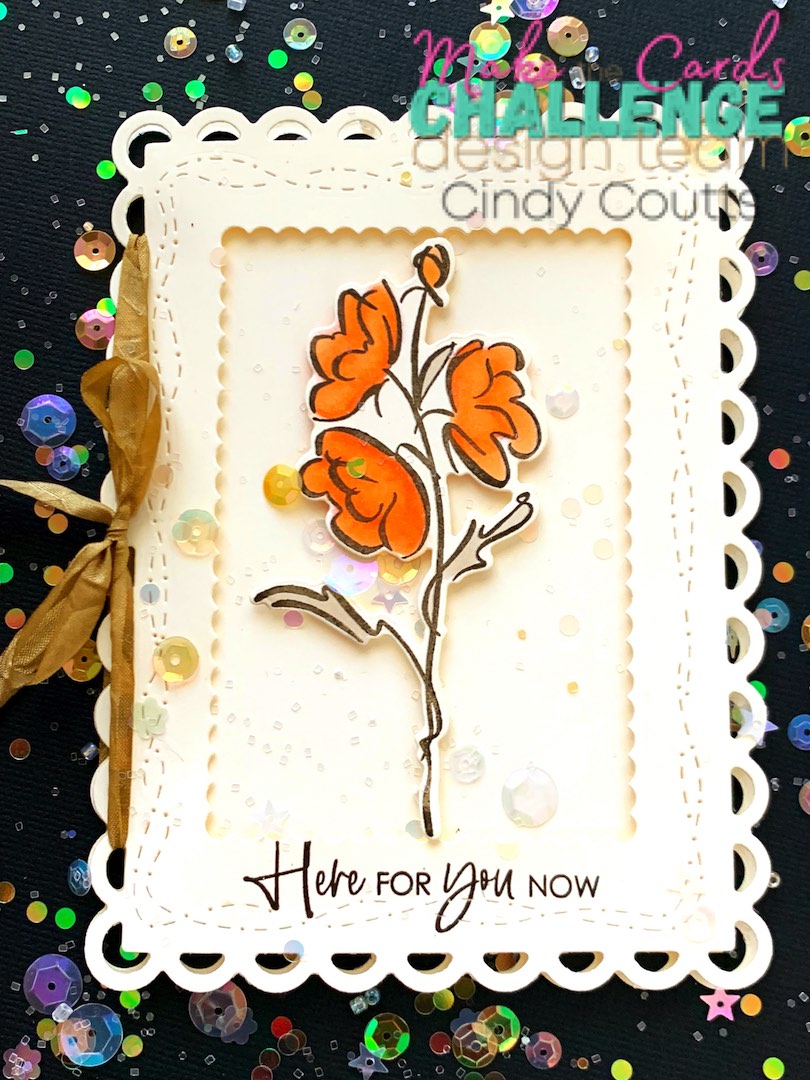
I stamped the sentiment onto the center bottom of the scallop frame in Early Espresso ink and put Stampin’ Dimensionals on the back of the frame. We will use this frame on the front of the card.
I then cut my custom card base from Very Vanilla Thick CS and scored.
I stamped the floral image from Color & Contour onto a piece of Very Vanilla Thick with Crumb Cake ink, making sure that I leave the image on the lid of my Stamparatus to re-stamp in Early Espresso ink AFTER I color in the images.
The image was colored with our alcohol Stampin’ Blends. The leaves were colored in Light Crumb Cake. I built up the color on the flowers by coloring them in the following order:
- Full coverage Light Pale Papaya on the floral images.
- Dark Pumpkin Pie for accentuating highlights.
- Light Pumpkin Pie to blend out.
- Dark Pale Papaya to blend out even more.
- Light Pale Papaya for even more blending.
I put the colored image back into my Stamparatus and re-stamped with Early Espresso Ink, then cut from the coordinating die. I added Mini Stampin’ Dimensionals to the back of the image.
Now, we are going to fully assemble this card.
I added Seal to the BACK of the card base and adhered to the scallop frame.
I then took the backings off of the Stampin’ Dimensionals on the top frame and adhered evenly with the back scallop frame.
The floral image was placed in the center of the Stitched So Sweetly frame.
I colored a length of my favorite Whisper White Crinkled Seam Binding with a Light Crumb Cake Stampin’ Blend and tied it through the scallops into a bow on the left.
I hope you enjoyed today’s project. Thank you for stopping by for a visit and have a great day!


|
|
|
|
|
|
|
|||
|
|
|
|
|
|
|
|
|
|
|
|
|
|
|
|
|
")


 Crinkled Seam Binding Ribbon")


- Card base: 6-3/4 x 4-5/8, score at 3-3/8, Very Vanilla Thick CS.